> For the complete documentation index, see [llms.txt](https://docs.soda.io/llms.txt). Markdown versions of documentation pages are available by appending `.md` to page URLs; this page is available as [Markdown](https://docs.soda.io/soda-documentation/data-testing/cloud-managed-data-contracts/verify-a-contract.md).
# Verify a contract
Once a Data Contract is published, the next step is to **verify** that the actual data matches the expectations you’ve defined. Soda offers several flexible ways to execute contract verifications, depending on your needs and technical setup.
***
## Manual execution (from the dataset page)
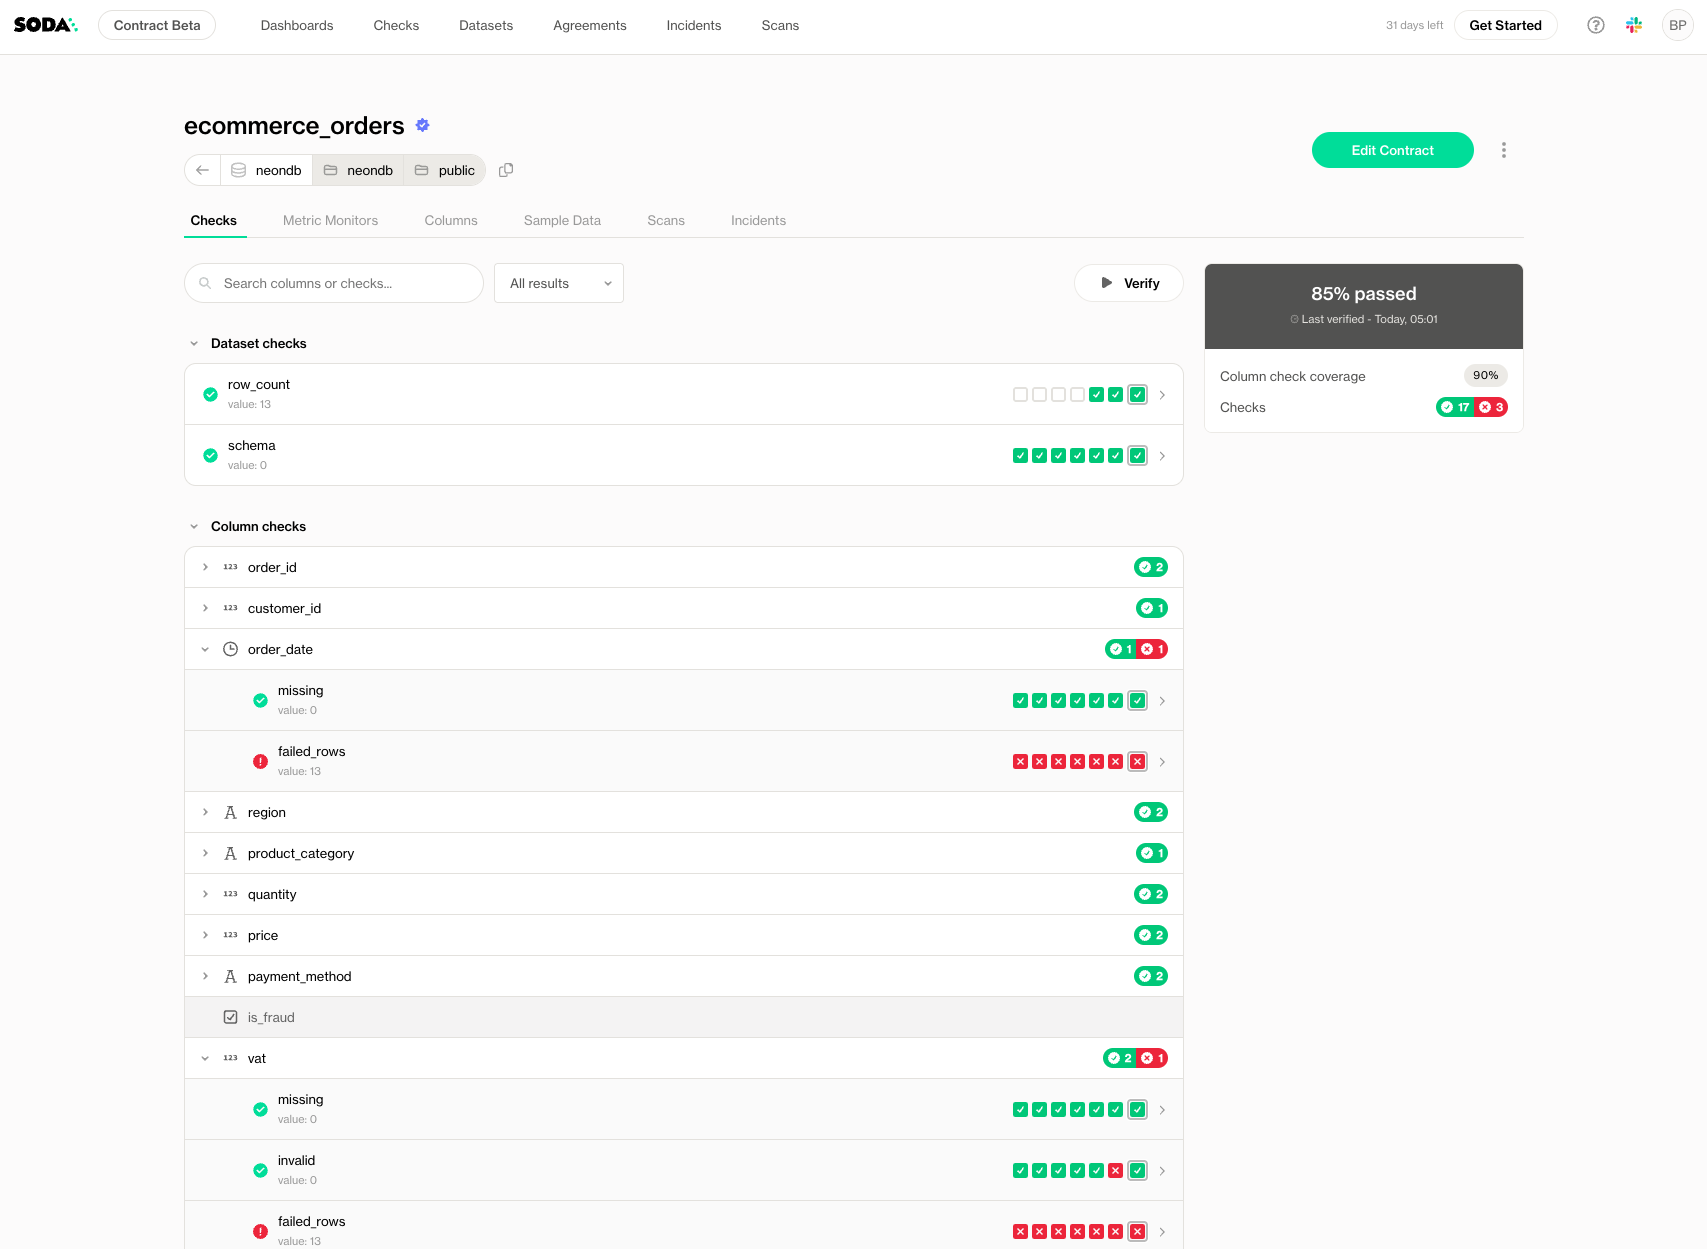
You can manually verify a contract at any time from the dataset page in Soda Cloud.
Simply open the dataset and click **Verify Contract**. This will:
* Execute the checks in the published contract
* Use the latest available data
* Display pass/fail results directly in the UI
This is especially useful for one-off validations, exploratory testing, or during incident investigations.
If the contract has scopes, the button follows the pill you select on the **Checks** tab, such as **Verify scope** to run only the checks of one scope. Learn more in [Contract scopes](/soda-documentation/data-testing/cloud-managed-data-contracts/contract-scopes.md#verify-a-scope).
{% hint style="warning" %}
This action requires the "Manage contract" permission on the dataset. Learn more about permissions here: [Dataset Attributes & Responsibilities](/soda-documentation/dataset-attributes-and-responsibilities.md)
{% endhint %}
## Scheduled execution (from the Contract Editor)
To monitor data quality over time, set up **scheduled verifications** directly in the contract editor.
When editing or viewing a contract:
1. Go to the **Schedule** section
2. Choose how often you want the contract to be verified (e.g., hourly, daily, weekly)
3. Choose your time zone
4. Choose a cron expression
Soda Cloud will automatically run the contract at the specified intervals, using the selected runner. All results will be stored and visualized in Soda Cloud, with alerts triggered when rules fail (if configured).
{% hint style="info" %}
If the data source has a **default schedule** configured, the schedule, timezone and cron expression pre-fill from it; pre-filled values display an **A** (auto) indicator. You can override either value before saving. Once saved, the contract keeps its own schedule independent of the data source default.
If no default schedule is set on the data source, the schedule defaults to **midnight UTC**.
{% endhint %}
{% hint style="info" %}
If the contract has scopes, this schedule runs only the checks without a scope. Each scope has its own schedule, or runs only manually or programmatically. Learn more in [Contract scopes](/soda-documentation/data-testing/cloud-managed-data-contracts/contract-scopes.md#schedules).
{% endhint %}
## Programmatic execution (via CLI)
For advanced workflows and full automation, you can verify contracts programmatically using the Soda CLI and a Soda Runner.
This is ideal for:
* CI/CD pipelines
* Custom orchestration (e.g., Airflow, dbt Cloud, Dagster)
* Triggering verifications after data loads
#### **Step 1: Connect to Soda Cloud**
First, create a Soda Cloud configuration file:
```bash
soda cloud create -f sc_config.yml
```
This generates a basic config file. Open it and fill in your API key and organization details.
> Learn how to [Broken mention](broken://pages/H6Piqnv5lUFCAv1Cvm75)
You can test the connection:
```bash
soda cloud test -sc sc_config.yml
```
#### **Step 2: Verify a Contract**
Now you can run a verification using the CLI and a remote Soda Runner.
To verify a dataset **without pushing the results to Soda Cloud**:
```shellscript
soda contract verify --dataset datasource/db/schema/table --use-runner --soda-cloud sc_config.yml
```
This allows you to verify that the contract produces the expected results before pushing results to Soda Cloud.
To verify and **also push the results to Soda Cloud**:
```bash
soda contract verify --dataset datasource/db/schema/table --publish --use-runner --soda-cloud sc_config.yml
```
This makes the verification results available in the UI for stakeholders, trigger notifications and monitoring dashboards.
{% hint style="warning" %}
This action requires the "**Manage contract**" permission on the dataset; the user is identified based on the API key provided in the Soda Cloud configuration. Learn more about permissions here:[Dataset Attributes & Responsibilities](/soda-documentation/dataset-attributes-and-responsibilities.md)
{% endhint %}
If Soda Cloud cannot return a contract for the dataset, for example because none is published yet, the command verifies nothing and exits with code 3. One error line names the dataset and the reason:
```
🚨 Could not fetch the contract for dataset 'datasource/db/schema/table': the dataset has no published contract in Soda Cloud
```
> Learn what each exit code means: [Core CLI reference](/soda-documentation/reference/cli-reference.md#exit-codes)
***
{% hint style="info" %}
You are **not logged in to Soda** and are viewing the default public documentation. Learn more about [Licensing & documentation access](/soda-documentation/reference/documentation-access-and-licensing.md).
{% endhint %}
---
# Agent Instructions
This documentation is published with GitBook. GitBook is the documentation platform designed so that both humans and AI agents can read, navigate, and reason over technical content effectively. Learn more at gitbook.com.
## Querying This Documentation
If you need additional information that is not directly available in this page, you can query the documentation by asking a question.
Perform an HTTP GET request on the following URL with the `ask` and `goal` query parameters:
```
GET https://docs.soda.io/soda-documentation/data-testing/cloud-managed-data-contracts/verify-a-contract.md?ask=&goal=
```
`ask` is the immediate question: it should be specific, self-contained, and written in natural language.
`goal` is what the user is ultimately trying to achieve, the reason they need the answer. Sharing it helps GitBook give you a better, more relevant answer. A goal is most helpful when it describes the outcome the user wants rather than restating the question. For example, with `ask=how do I create an API token`, a goal like `automate deployments from our CI pipeline` lets GitBook tailor the answer to that use case.
The response will contain a direct answer to the question and relevant excerpts and sources from the documentation.
Use this mechanism when the answer is not explicitly present in the current page, you need clarification or additional context, or you want to retrieve related documentation sections.